
FrA1l3
-
Mensajes
7.152 -
Ingresó
-
Última visita
-
Días ganados
1
Tipo de contenido
Perfiles
Foros
Calendario
Tienda
Todo lo publicado por FrA1l3
-
En los papeles del coche, apartado P.2.1 lo tienes. Por ejemplo el mío 1.8 de 180cv tiene una potencia fiscal de 12.5 y en mi ciudad pago 126€ de viñeta.
-
Virtual Cockpit a posteriori
FrA1l3 responde a pablocaballero7 de discusión en Infotainment Audi A3 8V
http://enderelektronik.com.tr/hayalet-gosterge-audi.html Los componentes que necesitáis aquellos que tenéis el MMI 2 -
Virtual Cockpit a posteriori
FrA1l3 responde a pablocaballero7 de discusión en Infotainment Audi A3 8V
seguramente bricos veréis enseguida, conozco 4 o 5 que lo han hecho pero no han publicado brico. Dentro de 2/3 meses sacan el virtual cockpit en Seat y estoy seguro que en Abril/Mayo ya hay un brico detallado en el foro CPSL. En foros rusos como este:; https://www.drive2.ru/b/2956061/ tenéis también varios ejemplos de bricos, pero como en CVWG, CPSL o en ASI no encontraréis bricos tan buenos -
Virtual Cockpit a posteriori
FrA1l3 responde a pablocaballero7 de discusión en Infotainment Audi A3 8V
Cuadro, volante y cable nuevo entre MMI y cuadro si. Bueno tenéis que cortar el soporte central de plástico que va justo en medio del hueco del cuadro, pero no pasa nada. -
comentarios concurso comentarios concurso fotografico
FrA1l3 responde a jatdt de discusión en Audi A3 8V (2012-2020)
venga tiro de reserva, sesión de Diciembre 2016, Estación de Esquí Fuentes de Invierno, Asturias -
concurso CONCURSO FOTOGRAFICO DIC2017 TEMA "NAVIDAD"
FrA1l3 responde a jatdt de discusión en Audi A3 8V (2012-2020)
-
BRICO: Instalar centralita Android y pantalla táctil en A3 8V (v1.2)
FrA1l3 responde a FrA1l3 de discusión en Electricidad Audi A3 8V
muchas gracias por la visita! ahora hablamos! gracias amigo por poner el resultado, me alegro que lo disfrutes! -
Buenas @nacheteherr! Vale más que quedes con alguien, además en Madrid seguro que hay un montón de gente con el OBD11. Si lo compras, tarda unas 2 semanas habitualmente, aunque por estas fechas quizás se alargue más, y al costo del aparato, sumale un teléfono o tablet android... puff. Seguramente algún compañero por una caña te haga las modificaciones que necesitas! Si te pasas por Asturias yo te lo dejo gratis, suerte en la búsqueda!
-
Hola! si es una copia pirata asegúrate de que sea exactamente la versión del cable o te quedas sin él. Puedes descargar una versión básica de la web oficial de vagcom: http://www.ross-tech.com/vcds-lite/download/index.php si no encuentras tu versión exacta y que no te estropea el cable.
-
Felices fiestas! un abrazo!!
-
el ASS cuesta 300€ y el B&O 930€. Como mínimo instala el ASS, el equipo básico es malísimo. Y si no eres audiófilo, el ASS es más que sobrado.
-
Cosas de Norniella
-
presentación Tanercr7 - Audi A3 8V Sportback S Line edition 1.5 TFSI S tronic Azul Ara.
FrA1l3 responde a tanercr7 de discusión en Audi A3 8V (2012-2020)
El parpadeo que observas es porque la velocidad de encendido de los leds no es la misma que la tasa de refresco del teléfono como habéis hablado. Es más, si haces la prueba con el motor en marcha y con el motor parado, verás como la tasa de parpadeo es diferente (el de las luces digo). Puedes verlo si el teléfono lo tienes puesto para grabar a 60Hz o más. Para que salgan bien en el teléfono las fotos, aparte de lo del filtro que dice David, prueba a buscar en las opciones si tienes una opción que sea "anti-flicker", "flickering" o anti-parpadeo. Es una función que suelen traer todas las cámaras compactas, réflex o teléfonos de los últimos años y es para evitar precisamente lo que te pasa a ti. saludos! -
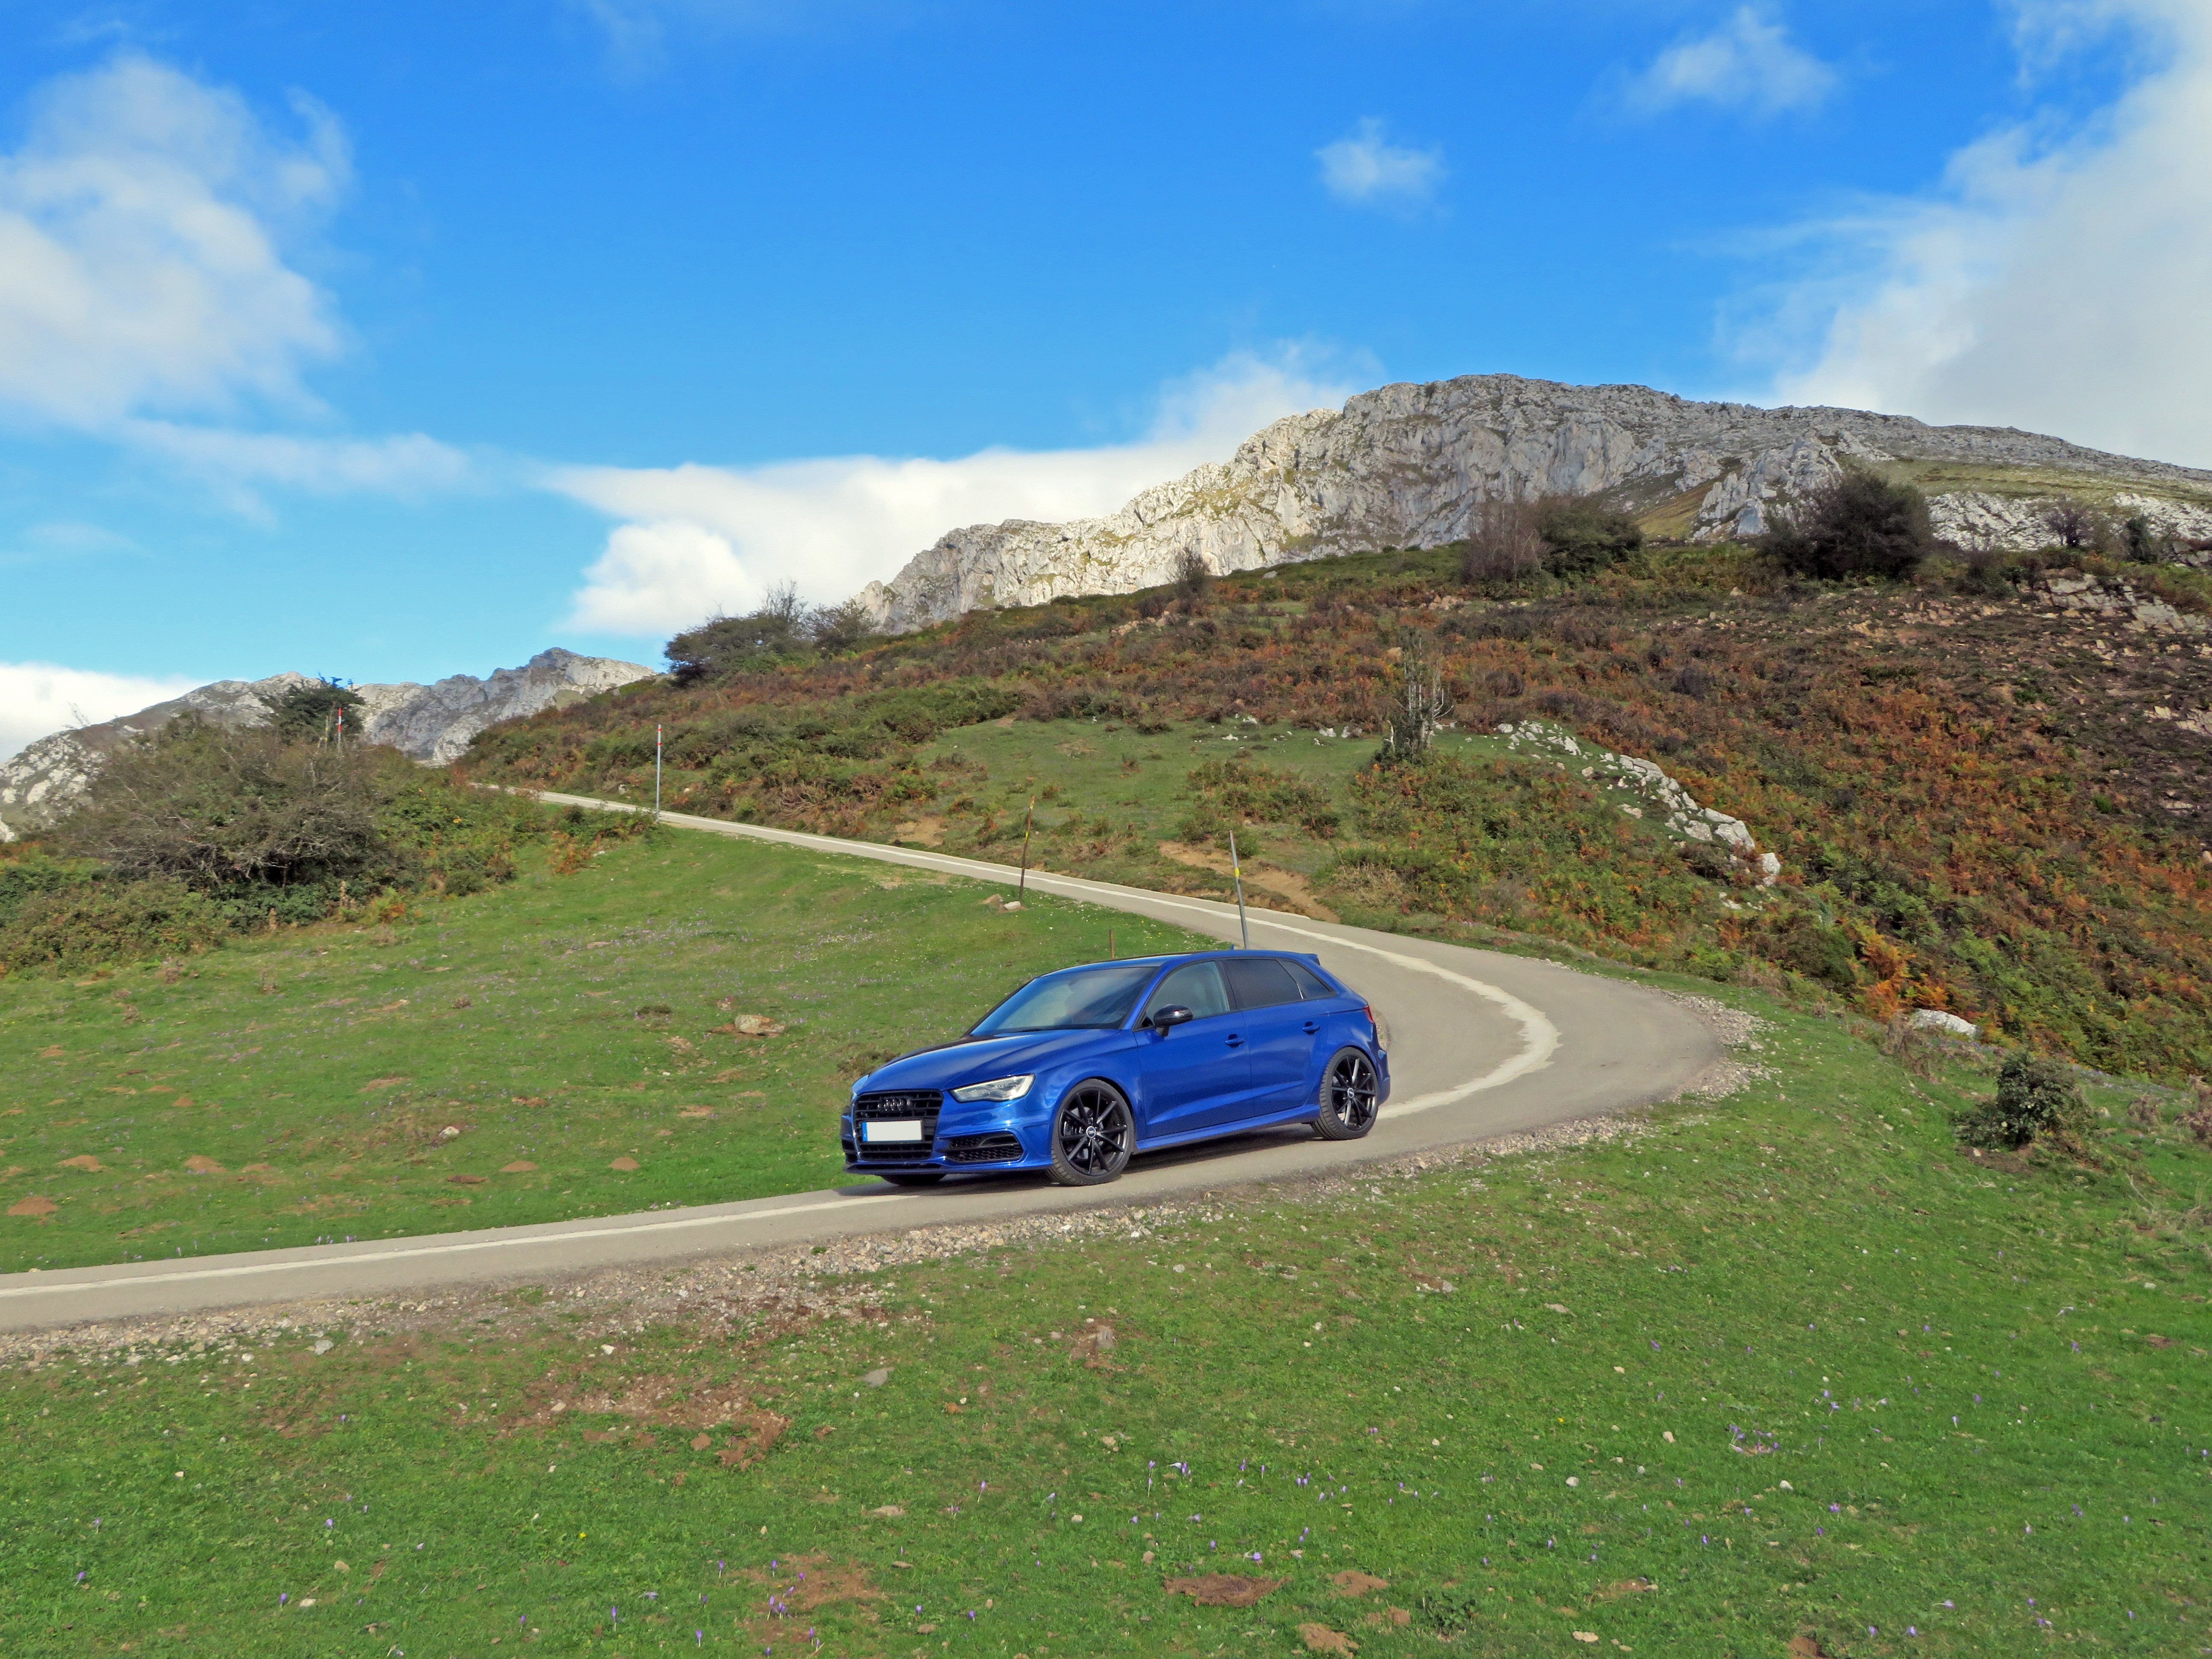
presentación Presentación RS3 Sportback Azul Sepang
FrA1l3 responde a Geremy de discusión en Audi A3 8V (2012-2020)
yo? que va! era un mensaje para @Dzeta! el mío no tiene tanta clase -
pedidos PEDIDOS FIRMADOS Y PLAZOS DE ENTREGA
FrA1l3 responde a Nephilim de discusión en Audi A3 8V (2012-2020)
Tiene buena pinta ese S3, me quedo por aquí para ver la presentación! -
pedidos PEDIDOS FIRMADOS Y PLAZOS DE ENTREGA
FrA1l3 responde a Nephilim de discusión en Audi A3 8V (2012-2020)
Lo de la matriculación depende un poco del concesionario (y la buena voluntad) del comercial. Date cuenta que pueden reservar unos días a quedarse el coche para esperar a matricularlo ya el año que vien (que te viene mejor por el valor de venta) pero es un coche ocupando un sitio que quizás si no tienen una campa o almacen grande, les está puteando el sitio y no pueden mantenerlo almacenado y estén obligados a matricularlo para sacarlo ya. Es todo cuestión de hablar con ellos. El mío vino sobre estas fechas, pero pedí expresamente que lo matriculasen en Enero. Me dijeron que 1 u 2 semanas si me lo guardaban, pero 1 mes no podían. Habla con el comercial y listo. Y paciencia, que os queda poco! -
Por favor, muchas gracias.
-
Hola compañero! Sobre los cilindros, si tienes un motor con desconexión de cilindros y viene ya de fábrica con ello activo, si no tienes ese motor, no te va a funcionar. Y el modo desarrollo (menú verde) o modo ingeniero (modo rojo) son modos peligrosos, te puedes cargar el MMI. Si quieres entrar a mirar, se activan con una combinación de teclas en la consola, y puedes ver valores que se pueden ver con vagcom directamente. Vamos que si tienes el cable, no necesitas acceder a esos modos y viceversa. Tienes la combinación de teclas en el primer post de este mismo hilo, al final en mis manuales: MANUAL - modificaciones en InglésMANUAL - modificaciones en Castellano
-
Hola @raulmolea, Veo que eres nuevo por aquí, normalmente utilizamos el buscador para encontrar lo que necesitamos en el foro, porque ya está todo explicado. No obstante, comentarte que en el modelo 8V (este subforo) sólo hay un tipo de techo de cristal, y la imagen que has puesto es del modelo 8P. No quiero ser desagradable ni grosero. Si hubieras dedicado unos minutos mirando los más de 170 perfiles que tienen los compañeros abiertos, hubieras visto todo tipo de coche, sportback, sedán, 3p con y sin techo y en toda la gama de colores. Te responderé con unas fotos de mi perfil, para que te quede claro como es el techo solar en nuestro modelo 8V: Si quieres ver cuanto abre o cómo abre, pasate por mi perfil y tienes fotos para aburrir. Y si, es exactamente el mismo techo en sportback, sedán, 3p. Seat León MK3, Seat Ibiza, Skoda, Porsche 911... saludos!
-
¿qué modelo? porque tienen varios en 17". Las originales en internet seguramente sean más baratas que en tienda física. Lo de originales o réplica pues cada uno tiene sus preferencias.... pero primero es saber el modelo y después ya te podemos ayudar a buscarlas baratas
-
Vag-Com / OBDEleven - A6 - Allroad C7 - (A partir de 2011).
FrA1l3 responde a Ocio de discusión en Audi A6 / Allroad C7 (2011-2018)
okis gracias, intento seguiros de vez en cuando pero no me habia fijado en el listado. Lo de la presión del turbo y los indicadores en manual lo desconocía, me parece un detalle muy interesante. saludos! -
Vag-Com / OBDEleven - A6 - Allroad C7 - (A partir de 2011).
FrA1l3 responde a Ocio de discusión en Audi A6 / Allroad C7 (2011-2018)
Hola compañeros, os dejo una recopilación muy buena de un compañero USA con todas las modificaciones de vagcom que ha hecho en su A6 C7: 1. Enabling Gauge Test/Needle Sweep (already activated) This will sweep the needles of the speedo and rev counter through their full range automatically when you start the engine. [Select] [17 - Instruments] [Coding - 07] [Long Coding Helper] Click on byte 1 and you'll see the selectable option: "Gauge Test/Needle Sweep active" Check this option [Do It!] This produced expected results 2. Enabling Lap Timer (Did nothing on my car - I have been told I need to get instruments firmware updated by Audi) [Select] [17 - Instruments] [Coding - 07] [Long Coding Helper] Click on byte 1 and you'll see the selectable option: "Lap Timer active" Check this option [Do It!] 3. Kerb lighting (Activated) Illuminating the kerb when turning hard left or right at low speeds with dipped beam on, by turning on the all-weather light on the relevant side of the car. [Select] [09-Cent. Elect.] [Coding - 07] [Long Coding Helper] Click on byte 4 and enable bit 0 [Do It!] 4. Beep on lock (Activated) Chirp the alarm siren briefly when the alarm activates (ie all doors are closed and the car is locked) [Select] [46-Central Conv.] [Coding - 07] [Long Coding Helper] Click on byte 1 and in bit 2 you'll see the selectable option: "Anti-Theft-System: Horn Confirmation active" Check this option [Do It!] 5. Hidden menu (Activated) Enable access to the green engineering menu in the MMI [Select] [5F - Information Electr.] [Adaptation - 10] Select Channel 6 and Read change the value from 0 to 1 then Test then Save Reboot the MMI (Press MENU, central MMI knob and top right softkey) To get to the Hidden Menu, press and hold the CAR and MENU buttons for a few seconds. You may have to have a few attempts - if you don't press them at the exact same moment either CAR or MENU activates. You know if you have done it right because the red LEDs in the buttons do not illuminate. WARNING!!!! BE CAREFUL!!! Do not mess with settings in the Hidden Menu unless you know what you are doing. On earlier MMI versions, people managed to activate the bootloader menu and fried their MMI. Use at your own risk. If in doubt, leave well alone! 6. Battery Meter. (Did this but no information in MMI) Enter the Hidden Menu as in step 5 above. Select Car Select Carextdevicelist Check "Battery" Return Select Carmenuoperation Set "Battery" from 0 to 5 Return Press CAR to exit the hidden menu Reboot the MMI 7. VIM (Retrived code - will try tomorrow) Video In Motion - prevent the car from suppressing DVD playback once the speed of the car rises above 5mph I used the same technique as in my C6 with MMI 3G. These are the steps I followed: [Select] [5F-Information Electr.] [Advanced ID - 1A] Make a note of the Serial Number Go to Enable VIM TV-playback using VCDS/VAG-COM in your Audi MMI | trick77.com Follow the link for MMI 3G Enter your serial number into the input field Make a note of the personal login code and the alternative login code it returns [Security Access - 16] Enter your personal login code. [Do it!] If you receive a "code not valid" message try the alternative code. If neither code works it's likely that your control module doesn't support VIM adaptation. [Adaptation - 10] Select channel 48 Press read Set the value from 0 to 255 Press test Press save Press "Done, Go Back" Close VCDS and reboot your MMI as detailed in step 5 above 8. Passenger door mirror dip on selecting reverse. (Already activated) When reverse gear is selected, the passenger door mirror dips to show the kerb if the mirror control knob is set to the passenger door mirror position. When driving forwards and exceeding 5mph or when switching off the car, the passenger mirror returns to its original position. If the position of the mirror is changed when dipped, this change is remembered the next time the mirror dips. [Select] [52 - Door Elect, Pass] [Coding - 07] [Long Coding Helper] Click on Byte 4 (5th one along from the left) Set Bit 2 to "on" [Do It!] 9. Disabling seatbelt reminder chimes. Turn off the annoying "Bing bong" when you move the car on the driveway without your seatbelt fastened. [Select] [17 - Instruments] [Coding - 07] [Long Coding Helper] Click on byte 0 and in bit 4 you'll see the selectable option: "Seat Belt Warning inactive" Check this option [Do It!] 10. Disabling engine stop when opening driver's door. Recode the Central Convenience module to STOP the engine from turning off when you get out, having moved the car. [Select] [46 - Central Conv.] [Coding - 07] [Long Coding Helper] Click on the red byte (below) and in the binary code you will see: 00000111 Change it to: 00001111 ie. with 1111 at the end not 111 Tab into the next bit box and you will see the code change to 0F (013F062220B90000832009042001040700000000000000000 00000000000 to 013B062220B90000832009042001040F000000000000000000 0000000000) [close the long code helper] [Do It!] 11. Enabling the default distance setting in the MMI for Adaptive Cruise Control Adding the option to modify the default distance for ACC (values 1 to 4) via the MMI [Select] [13 - Auto Distance Regulation] [Adaptation - 10] Select channel 07 Press read Set the value from 0 to 1 Press test Press save Press "Done, Go Back" Close VCDS and reboot your MMI as detailed in step 5 above In the MMI you should now be able to go to Car > Driver Assistance > Adaptive Cruise and see a new option there to set the adaptive cruise distance. 12. Modifying the High Beam Assist speed threshold Changing the threshold speed at which High Beam Assist activates [Select] [20 - High Beam Assist] [Adaptation - 10] From the drop-down menu, select "High Beam Speed Threshold" In the third entry box down on the left, enter the speed to set the threshold to in KM/h (eg 40) Press save Press "Done, Go Back" Close VCDS and reboot your MMI as detailed in step 5 above 13. Enabling the Daytime Running Lights on/off setting in the MMI (Done but can't find it in MMI) Adding the option to turn off / turn on the DRLs via the MMI [Select] [09-Cent. Elect.] [Coding - 07] [Long Coding Helper] Click on byte 3 and enable bit 0 (Daytime running lights adjustable via MMI) [Do It!] 14. Enabling tourist mode setting for headlights in the MMI [Select] [09-Cent. Elect.] [Coding - 07] [Long Coding Helper] Click on byte 4 and enable bit 6 [Do It!] 15. Enable auto handbrake when shift into P (tried this but it gave error) [Select] [53 - Parking Brake] [Security Access - 16] Code displayed to me was - 78713 [Adaption - 10] [Select] "Shift P to EPB" Set to Activated [Do It!] 16. Close electric boot lid from key [Select] [46 - Cent Conv] [Coding - 07] Click on byte 2, bit 2 Tick Comfort operation: Remote control active [Do It!] [Select] [4D - Trunk Elec] [Security Access - 16] Input 12345 [Adaption - 10] Activation using rear lid opening button in remote key - Touch function for closing Change to ACTIVE [Do It!] 17. Enable double disarm chirp [Select] [46 - Central Conv.] [Adaption - 10] Channel 63 Add 4 [Do It!] (Prompt shows options for other settings) 18. Disable DRL dim on turn signal (Activated) [Select] [09 - Central Elec.] [Security Access - 16] Code: 20113 [Adaption - 10] Channel 3 Set between 5 and 100 [Do It!] (I found 50 to be a good setting) 19. Parking brake release without seat belt on [Select] [53 - Parking Brake] [Security Access - 16] Code presented by program [Adaption - 10] Select from drop down menu Change parameter [Do It!] 20. Tail lights on with front DRLs (Activated - looks awesome) [Select] [09-Cent. Elect.] [Coding - 07] [Long Coding Helper] Click on byte 2 and enable bit 7 [Do It!] 21. Enable ripping from CD to MMI HDD Enter the Hidden Menu as in step 5 above. Select Main Select Diagnose Select Settings Select Import_Multimedia Check "Ripping" Return Press CAR to exit the hidden menu Reboot the MMI 22. Disable NAV & Phone warning messages while entering data at speed [5F - Information Electr.] -> Adaptation -> Set channel 2 & 3 to 250 23. Enable Adaptive brake lights [46 - Comfort System] [Coding - 07] -> Long Coding Helper -> Byte 8 Bit 0 – Emergency Brake Flashing via Turn Lights active (1 = active) Bit 1 – Emergency Brake Flashing via Brake Lights active (1 = active) 24. Enable Independent Fogs control with high beams [09 – Cent. Elect.] [Coding - 07] -> Long Coding Helper -> Byte 4 Bit 1 – (Front) Uncheck the box or change :Bit 1 to 0 Bit 2 – (Rear) Uncheck the box or change :Bit 2 to 0 25. Enable TPMS * You need the 1AT ABS unit – check your stickers (1AS does not work) [Hidden menu] [car] [cardevicelist] [RDK] Enable [Hidden menu] [car] [carmenuoperation] [Tires Air Pressure Control] Set to 5 [03 - ABS Brakes] [Security Access - 16] (probably with login code: 61378) [Coding - 07] -> Long Coding Helper -> Byte 1 Bit 3 - Tire Pressure Monitoring (PR-7K6) active (1 = active) The TPMS need to be enabled in the Instrument Cluster: [17 - Instruments] [Coding - 07] -> Long Coding Helper -> Byte 4 Bit 0 - Tire Pressure Monitoring (TPMS) installed (1 = active) Reset MMI 26. Set Audi parking system - Switch OFF Speed [10 - Park/Steer Assist] [Adaptation - 10] -> Channel 23 Set to 20 (max value in km/h) 27. Adjust LED brightness [09 – Cent. Elect.] [Security Access - 16] (enter security code. One of the default codes is- 20113) [Adaptation - 10] -> Channel 3 Set between 5 and 100 28. Adjust bluetooth microphone sensitivity Hidden menu Diagnose Settings Mic sensiblity - choose -6db/0db/+6db 29. Enable Drivers Memory Seat 36: Seat Mem - 07 Coding - Long Coding Helper - change Byte 2, bit 0, to 1 Seat memory will be there however greyed out in MMI Press and hold down unlock button on key fob for 5 seconds for the windows to come down Press and hold down lock button on key fob for 5 seconds for the windows to go back up In MMI, Seat Adjustment you are now able to find Driver's seat, you can set Key memory on/off. Set it "on" for both keys separately. 30. Disable/memorize/invert Start & Stop: - module 09-Cent. Elec. - enter Security Code (20113) - Adaptation on Channel 34: subtract 4 to the value --> Start&Stop always disabled add 32 to the value --> memorize last status (the Start & Stop status at engine startup will be the one at last engine shutdown) - test & save In addition of these values, if you add 64 to the value, the Start & Stop button light will be reversed: off if Start & Stop is disabled, and on if Start & Stop is enabled 31. Activation of footwell lighting for vehicles without Lighting Pack / Ambient Lighting This allows you to use the MMI to set the footwell lighting level while driving. Tested on cars with MMI 3G+ (Tech pack). [Select] [09-Cent. Elect] [Coding - 07] [Long Coding Helper] Click on byte 16 and enable bit 6 [Do It!] Enter the Hidden Menu as in step 5 above. Select Car Select Cardevicelist Check "Interior Light" Return Select Carmenuoperation Set "Interior Light" from 0 to 5 Return Press CAR to exit the hidden menu Reboot the MMI And a little bonus : Lowering AAS with VCDS 0) Set your car to "Auto" mode (not dynamic, comfort, etc.). Make sure car is on level ground. Close doors. If any doors are opened during the procedure, it will be interrupted. Make sure your car is NOT in a towing or tire changing mode. 1) Load up VCDS, go to Module 34 - Level Control 2) Go to "10 - Adaptation", take note of 4 values titled as "Body height front left wheel house edge" - mine were set to around 384 from factory. 3) Take the values you noted above, and ADD your desired drop in millimeters (mm) to each value, write it down... So if your left front wheel was 384.5, your new value will be 401.5. Repeat for the other wheels. It is not critical to be 100% precise here, rounding the values is fine. Note that maximum Audi-approved drop is 17mm from what I've gathered. You can go lower, but if you go lower, you're also affecting other systems, such as cameras, adaptive cruise, etc., so be careful. Technically, if you want this procedure to be done properly, instead of taking existing values, you will measure all 4 wheels after completion of the step 7, and then add your drop value if desired. Suspension height values are measured from the center of the wheel to the edge of the fender. 4) Go to Security Access, enter code provided on the following website, under VCDS section, item #3 (I'm not posting this directly to avoid spreading sensitive data, although it's been posted on other forums in past) http://www.stemei.de/pages/coding/au...ng-des-aas.php 5) You should get a message stating that security code has been accepted - if you don't, something failed, stop doing what you're doing 6) Go to 04 - Basic Settings *** IMPORTANT: Whatever you do, DO NOT select "Reset All Adaptations" - this is not undoable, and will require a visit to the dealer. *** 7) Select "Activate Level Control", hit "Go", wait for it to complete (should only take a second, until it says "not running"). 8) Select "Delete Calibration For Level Control", hit "Go", wait for it to complete, your car will throw a fault code and you will see an error message stating Air Suspension Malfunction - this is normal. 7) Select "Start Up to Reference Level", hit "Go". This step will take about a minute, and your car will go up/down during the process (you'll hear hissing noises). Wait for it to complete, until it says "not running". DO NOT use the "start up to reference level production" option. 9) Select "Go Back", go to "10 - Adaptation" on the previous screen. 10) Next you will need to enter new adaptation values for all 4 wheels. Select "Body height front left wheel house edge", then enter new adaptation value, and hit "Do it", then repeat for the other 3 wheels. I did it in the order the menu was arranged (FL, RL, FR, RR) - not sure if the order matters, but just in case. Each time you enter a value, you should get a message stating that it has been accepted. 11) After you're done entering adaptation for all 4 wheels, select "Go Back", and return to "04 - Basic Settings" again. 12) In basic settings, select "Calibrate Level Control" and hit go, it will take a few seconds. Wait for it to say "not running". If you get an error during this step, you either missed a step, or something went horribly wrong. 13) Select "Activate Level Control", hit "Go" 14) You're done, now go to "02 - Fault Codes" and Reset codes. If this did or didn't work - please share your experience with the rest of us here. UPDATE: There is an additional setting that will prevent your car from auto-lowering at ~30 mph, as well as allow you to raise the suspension while driving at any speed. Standard settings gray out the "raise" button over a certain speed, and are particularly annoying if your car is lowered via the steps above and you would like to keep it raised for an extended period of time (such as city driving with a lot of dips, bumps, ramps, sloped driveways, etc.) 1) Launch the green menu by holding Car + Menu buttons. (If you don't know how to enable or use the green menu, see the main VCDS thread) 2) Go to "car" then "carmenuoperation" menu 3) Scroll down to "suspension" 4) Change the value to "5" 5) Press the center menu knob to save 6) Reboot the MMI (Menu button +Center knob+Top Right soft button) 7) Turn the ignition on/off -
presentación Presentación S3 Sportback 2017 - Dzeta
FrA1l3 responde a Dzeta de discusión en Audi A3 8V (2012-2020)
Pero bueno! si no había visto yo esto. Ya me he suscrito en youtube e instagram! me gusta tu estilo Las fotos desde el dron muy guapas, animate a participar en el concurso que hacemos -
presentación FrA1l3 - A3 8V Sportback TFSI 1.8 180cv - 2016 - Azul Sepang - Asturias
FrA1l3 responde a FrA1l3 de discusión en Audi A3 8V (2012-2020)
Me he dado cuenta que no te respondí al tema bujías. Me recomendaron cambiarlas, que a partir de 40.000 kms con repro vale más cambiarlas, para que vaya más fino sobretodo. Los intervalos de mantenimiento que me han recomendado son estos: Aceite y filtro de aceite - 18.000 kms (de serie 30.000) Bujías - 30.000 kms (de serie 90.000) Filtro de gasolina - 60.000 kms (de serie 90.000) En mi caso me coincide perfecto, ya que la repro la hice con 45.000 kms, así que para el verano que hago los 60.000 aprovecho y le cambio aceite, filtro de aceite y filtro de gasolina. -
apuntarse todo el mundo sondeo II KDD NACIONAL A3 8V (2018)
FrA1l3 responde a jatdt de discusión en Audi A3 8V (2012-2020)
Certifico todo lo que dice, es más, sólo hubo una pequeña disput* por el último sobre de earl grey entre @Thejero y @THINLIZZY ya que uno es de echarle leche y el otro limón, pero bueno son cosas que pasan en una KDD NACIONAL........